Sunday, October 23, 2011

EEK TSHIRT VINYL by Lori m.


OK, no little granddaughters to bling up t-shirts with rhinestones, so grandma decided to use fabric paints.
I took vinyl, and cut out my design, smoothed it down on to a clean ironed shirt. I used the negative part of the design and cut around it leaving a small margin for the paint if any got on it.
 Put a piece of chip board or card stock inside the shirt so the colors won’t bleed through to the back side.
Using that adorable Spiderweb and spider by Judy Stark over at www.bosskutdiecuts.com I created a cute Halloween shirt for Noah to wear. For the fabric paints, I mixed a few colors, blue and rust then went over the outer edge of the web and did the spider in sparkle grey fabric paint.
Lori m.
Bosskut Design Team Member
Friday, October 21, 2011

Give Thanks Layout by Judy

Fall is starting for us in Florida, at last!  The only changing of color in leaves here in a few months will be from green to brown.  So I grabbed a sheet of the newly released BoBunny Fall line and have color everywhere! I usually don't recommend papers but this line is beautiful and it cuts so easily on my Bosskut Gazelle.  1 pass using force 2.  The adorable Pilgram boy and girl are newly released LaLa Land stamps. I colored them in using my Copic markers and in case you don't know, Bosskut now sells these products under craft supplies at http://www.bosskut.com/  Check them out! 
The frames used are the BK Triframettes.   http://www.bosskutdiecuts.com/triframette.aspx  I will add my title or journaling onto the smaller oval frame after I decide which pictures are going on this page. I then cut a couple flourishes and added a few pearls on them.  Enjoy!

Judy Stark
Bosskut Design Team Leader

BOO Frame by Lori m.


Showcase those Halloween memories in style, visit www.bosskutdiecuts.com, and check out their new design die cuts. Turn a simple white frame into a Halloween photo keepsake.
                                                         
What would Halloween be without a witch’s hat, a few spiders and webs? 
Check out these adorable witch’s shoes and the new PopKut Bat. http://www.bosskutdesigns.com/
                                                 
Files used:
1. BATPK-JS
2. Spider WebTop-JS
3. Witch HATS-JS
4. #0487 DBoo
Enjoy!
Lori m
Bosskut Design Team Member

Witch Card & Halloween Graveyard Layout by Debbie


   I love, love, love Bosskuts new Halloween cutting files. For this witch card I have used the new Witches Boots from Bosskut, and pixie sticks. You will need to size your witches boots so that they cover the pixie stick. I used a white gel pen in my Gazelle to finish the card. to purchase pattern: http://www.bosskutdiecuts.com/
 The card measures 4.75 x 6.75 After finding the pixie sticks, surprisingly this was harder than I thought it would be, the card went together in just a few minutes.

                                              Halloween Graveyard Layout

                                                               
 I did this fast and fun layout using the newly released Spider Web with spider, BK Ghost, Skull Gate, and tombstone designs from http://www.bosskutdesigns.com/  
  My paper already had a few spiders and tombstones so I added more to give my page dimension. Cut some different size frames, added ribbon and anxiously waiting for this year's Halloween pictures to be taken!  Trick or Treat everyone! 

Debbie Grommet
Bosskut Design Team Member

Boo Wall Hanging by Debbie


    To make this Boo Halloween decoration, you will need Boo, the Happy Ghost and The New Spider and Spider Web all available at www.bosskutdiecuts.com .
    I turned boo on an angel so that I could make it as large as possible. Duplicate it once you have the size up. Weld one boo and cut it 3 times out of chipboard. Glue these together and paint. Cut the boo that has not been welded out of your favorite
   Halloween papers and glue to the chipboard, they will overlap so start with the exclamation point and move towards the B. Now cut the spider web and the ghost and apply to your chipboard Boo. Add ribbons and picture hangers and you are done. This was a fun project and my Grandchildren can't wait for it to go on their door.

Debbie Grommett
Bosskut Design Team Member

Sunday, October 16, 2011

BEWARE Halloween Card by Judy


This is a regular 4.5 x 5.5 card with a window cut on it and an open top box attached

Beware of the Bosskut Frank Peeper!
 
You can find that cute ghost there also. 
 
There is enough room to add 1 or 2 regular sized  boxes of candy in the box section.  Perfect for a child, teacher or neighbor!
 
Judy Stark
BossKut Design Team 

Haunted House Card by Judy


This was a fun card to make! 
I cut a regular 4.5 by 5.5 inch card .  I used the Bosskut Haunted House pattern #0486  http://www.bosskutdiecuts.com/hauntedhousebyoliviamyers.aspx . I grouped the pieces together and welded it with my Funtime program. Excluding the house roof edges and fence. (I cut those pieces separately) I then made a small open top box and welded the haunted house to the top of the box. 
I glued the box using sookwang double sided tape and attached to the base of my card front.  I used  the dimensional foam squares to attached the top part of the house.
I then added different cardstock to the backs of the windows and doors.  Added the witch, skull, ghosts, fence  and house ledges.  A dimensional Haunted House card ready to mail!  http://www.bosskutdiecuts.com/
 
Judy Stark

Trick or Treat Boxes by Judy

 
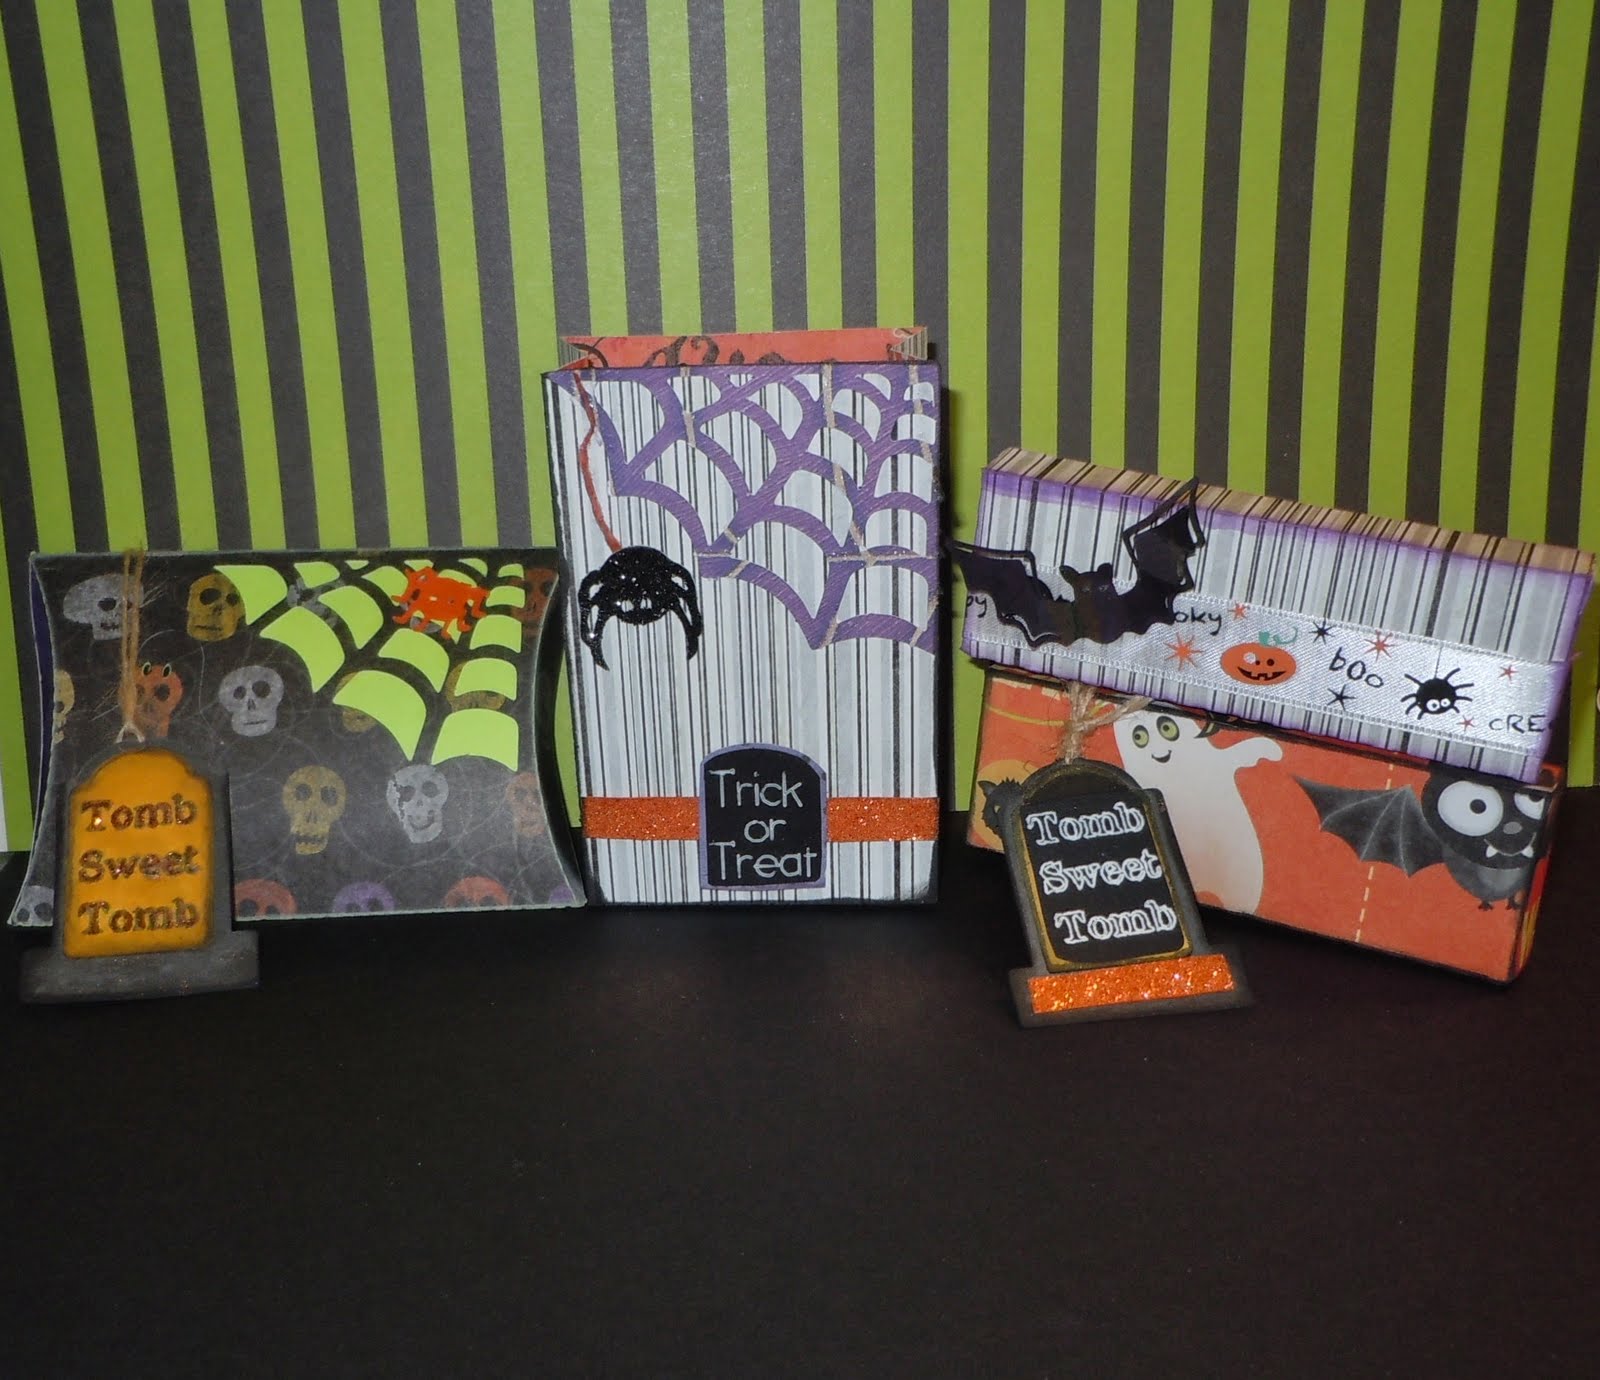
Do you need boxes for Halloween treats for your family or a classroom?  These boxes are perfect for the job!  You can get the patterns from your Blue Book which comes with the Gazelle Funtime software. I used the bag, oblong candy box and pillow box patterns. What I like the best, they are easy to put together, can be sized to the smallest and largest on your 12x12 mat. Cut and decorate!
The spider web with spider, PopKut bat and Tomb tag are newly released!  Available at:  http://www.bosskutdiecuts.com/halloween.aspx 
These are perfect to add mints and candies that might otherwise need a bag or wrap. Everyone likes candy corn etc and these are perfect for them!
Judy Stark
BossKut Design Team


Haunted Sign by Lori


Here’s an easy to make sign for your Halloween decorations. 
For my sign, I used a background photo of the eerie moon and sky that I took out our back door.
Next, I added a few bosskutdiecut bats, a cute pumpkin witch and of course some ghost.
1. Pumpkin Witch#0499
3. Ghost # Dghost0499
3. Bat #D0484
4. Glitter paper from Bosskut.com

Lori m.

Halloween Lanterns by Linn


Today is about the ambience of Halloween!  I have a lantern that is 5-1/2" tall x 2-1/2" squared. I cut out a window on all sides and added some vellum for a shadowy look then took the "Skull & Crossbones #0901 and cut out more black card stock and glued to each side of the vellum!  Use a piece of ribbon to hang it up or set it on the mantle.  I used a battery operated tea-light inside...gives off a spooky shadowy light! 


The next Light is a Votive Candle Holder with Bosskut's #0486D "Haunted House" and #0840 "RIP" tombstone   http://www.bosskutdiecuts.com/  print -n- cut them and glued to glass votive. Used battery operated tea light and then I made the votive holder in Funtime III!  I cut out 8 pieces of the pattern from card stock and glued each 1/2 of one to another 1/2 of another until all 8 are glued together, giving you a stand to hold a glass votive holder!  Trick or Treat?

Linn Cole - Bosskut Design Team Member

Monday, October 3, 2011

Chalkboard Perpetual Calendar by Linn


Today's project is what I like to call cute!  LOL  Anyway, I took some of the Chalkboard Vinyl I got from Bosskut, some of the repositionable vinyl and cut a Calendar out to fit onto the Chalkboard vinyl.  It sticks great!  I then did some print n cuts of Haunted House, Tombstones and Pumpkin Ghost for October and Autumn Oak Leaves, Pot & Spoon, Candy Apple, Pie, and Apple for November.


I bought a box of Crayola Chalk for 99 cents in different colors and made the days in one color and holidays in another color and birthdays in yet another color.  I also put the Special Days in the "To Do List" on left side of Calendar with the name of the person.  Now to make some more PNC's for Christmas and every other Month!  Woohoo!  I also took removable adhesive dots on the backs of the PNC's to hold them on the Chalkboard Vinyl! Since I have 2 months of PNC's done I used the backing from the vinyl to stick my extra PNC's on to store them for next year and placed them in a gallon size zip lock bag.  Also, you can take a piece of string and tie around the chalk and hang it from the Chalkboard Vinyl by punching a small hole near the left side where the "To Do List" is and let it hang until you need to use it again.  Also Bosskut has the 'Chalk Ink Wet Wipe Markers' for this use too!  Vinyl and Markers are under 'Crafts' on the Bosskut Site.  I hope you like this idea and have fun with it!  Have a great time crafting.

Linn Cole - Bosskut Design Team Member

Halloween Wreath by KATIE

 
Ah, it is officially Fall now and that makes me soooo happy!!!  Fall is my FAVORITE season!  And I am having so much fun creating some Halloween projects, which is so much easier with the help of my Gazelle.  I made this fun Halloween Wreath for our front door...
To start, I used the circle function in Funtime and simply drew a large circle and a small circle and positioned them to create the wreath.  Then I cut 2 layers of thin chipboard with my deep cut blade and one layer from patterned paper then adhered them all together.  I made a varitey of sizes of rosettes from patterned paper and cardstock.  For some added detail, I added Flower Soft to the rosette centers and sprinkled a bit of irridescent glitter over them.  For the white rosette center, I wanted to add a bit of color so after my glue dried, I airbrushed it with a Copic Marker then topped it off with a large rhinestone.  To further embellish the wreath, I added the Ghost Pumpkin and Bat then enlarged the Boo to fill in the center of the wreath.  I removed the center from the second 'o' and replaced it with the *new* Witch file.  I used some Silver and Purple glitter paper to add a little zing to the letters and topped the wreath off with a raffia bow.
 
Now my front door is all ready for some trick-or-treaters!!
 
Katie

HAUNTED YARD by Lori m.

 Halloween, the one time of the year I can still play dress up and make spooky decorations.
If I could….this is how I’d decorate our yard.
Oh, can you tell I just love the new bosskutdiecut files?  I had so much fun putting them together and watching those faces come to life before my very eyes.


For my haunted yard I used the following files.  Purchase at http://www.bosskutdiecuts.com/
1. Spider web-JS
2. Witchbroom #0846
3. # 04980 Dghost pumpkin
4. #0484 Dpumpkin Witch
5. #0484 Bat
6. #0861 Scarecrow
7. #0859 Cornstalk
8. #0860 Deatincrow
I used my ink pads on the cut outs and finished up with my chalks to give them a little more definition.
 Paper piecing’s are just so much fun, enjoy! 
 Lori m.


Sunday, October 2, 2011

Lattice Box and Top Gift Card


 The lattice top and box card may look time consuming but it isn't.  The hardest part is deciding which paper you want to use!  I made this card for a special someone and inside the gift box, a special unexpected gift. The pattern for the card will be available in a few days at http://www.bosskutdiecuts.com/ .  A very versatile card as you can fill the box up with flowers,candy or gift boxes.

     Above is the basic card excluding the pearls and rhinestones, that is in your pattern.  I cut 2 of the lattice tops in different paper as I like the effect.  I used 85 wgt paper and my Bosskut Gazelle:  cut at force 1, speed 2, K/O 12. 1 pass! I have a new sticky clean mat, so force 1 is perfect. I generally cut everything on a speed of 2 except  circles and squares.  After you have cut the pieces, chalk around the kiss cut lines and then glue/tape the  box and top pieces to your card base.  Then apply the lattice pieces to your window if you want the inside frame lattice.

I then cut a basic candy box pattern and envelope. Envelope is perfect to write a personal message inside. I added a small bow and a few pearls and my card is completed!

Judy Tesla Stark
Bosskut Design Team Leader

Saturday, September 24, 2011

Pumpkin Pickin' Layout


 Fall is in the air (even in Florida) and it's time to get out your nice richly colored paper. Bosskut now has back  in stock the Gazelle machine. To purchase: http://www.bosskut.com/  Also, rumor has it BossKut has some exciting news to be released very,very soon! I will post it as soon as it is officially released. Keep checking back on our blogs and Facebook page.  
 The layout I made is a very basic design. I rarely do 1 photo layouts as my family is large and I want to do layouts of everyone and occasions. First I cut my title border, title and 3 basic frames for my page. You can make any title and use any font within your Funtime software that comes FREE with your Gazelle. I then added my embellishments. 
    Embellishments used are:
Bosskut Pumpkin - #  0848
Oak Leaves - # 0449
Spider Daisy- #BKD007
Set of Curly Scrolls by Phyllis Parkins - #BKD037Can be purchased at: http://www.bosskutdiecuts.com/ 
 
I wanted to show you how nicely cut this Glitter paper cut with my Gazelle. This is a rather thin font but it cut like butter! 
 
THANK YOU for stopping by
Judy Tesla Stark
BossKut Design Team Leader


Friday, September 23, 2011

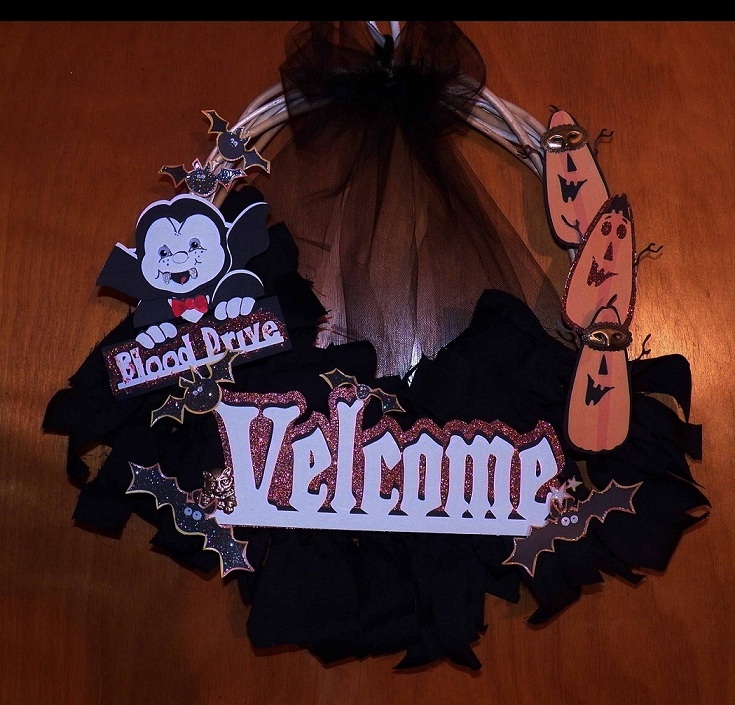
Dracula Wreath by Lori m.


                              Looking for a cute, easy Halloween Wreath? 
 Look no further http://www.bosskutdiecuts.com/ has your holidays covered.  
How cute are these faces? Easy to cut, easy paper piecing and more time to craft.
Files used:
1. # 0855 Draculapeeker
2. #0844 Pumpkintree


Tuesday, September 20, 2011

10 Minute Halloween Card by Katie


I know we are still in September but Halloween is fast approaching!  And, with work and kids and extra curricular activities we're all super busy these days.   With the help of your Gazelle, handmade cards CAN be fast and easy and still look great!  Check out this 10 minute card I made....
 

To create the cardbase, I took the *new* Witch Hat file and resized it to my liking, created a blackout shadow then mirrored the blackout.  **You must mirror it so that the brim of the hat lines up properly.  Next I simply turned the mirrored hat upside down, lined up the tips and welded them together.  I cut the cardbase from black cardstock then cut out the layer from the patterened paper.  I chose to cut the brim layer from Purple Glitter Paper to give it a little extra umph.  You can cut multiple pieces at one time by placing the different papers all on your one mat OR, if you have multiple mats you can prepare each one with a different paper and cut by color.  The later is my personal favorite.  Here's what all my pieces looked like after they were cut...
After each one was inked I adhered them together, adding dimensional dots under the glittery brim.  I tied it off with some delicious crinkled ribbon and added some pins that coordinated with my papers.  It still looked a little bare to me so I decided to add the cute little spider from the *new* Spiderweb.  And, of course, he HAD to have googly eyes!! 
 
To finish off the card, I used my Gazelle to type the sentiment and "printed" it by simply replacing my cutting blade with a Copic Spica Glitter Pen.  Before "printing' I made sure my words would fit inside the layer of the hat then after replacing my blade, I cut it out and used that to line the inside. 
 
 
See how easy it is to make fast but cute cards??  Give it a try, I just know you'll love it!


  • BossKut Design Team Member

  • Monday, September 19, 2011

    Spider Web Witch Window Card


    Another spin off of an awning card type.  Perfect card to have sitting out on your table,desk or classroom.
    I designed the spider web awning to use during the Halloween season.  Again, basic card pattern with an open top box aded to the bottom, a top and window cut out.  I stamped the Halloween sentiment.
     
    Again, you can add 1 or 2 treat boxes in the box section!   Easy to make and fun. 
     Halloween is in the air.... For digital cut patterns: http://www.bosskutdiecuts.com/

    Have a good week !  
                                                                         Judy Stark
                                                                    Bosskut Design Team 

    Saturday, September 17, 2011

    Halloween Projects for School Children by Debbie Grommet


    Last fall my then first grade granddaughters teacher decided that she wanted craft stations for the kids party as opposed to games and such. So I came up with this book marker. The letters I put through a xyron machine so that they did not get glue all over everything and I pute the yellow behind the pumpkins so that it was easy for them to do the rest. I stretched a scalloped tag long and used the ghost pumpkin and the Boo was from the funtime software. This was loved by the teacher and the kids used them in their books for weeks. Would make a good party favor too or a tag for a page.  Die cuts available at http://www.bosskutdiecuts.com/
     
    This is another of the Halloween craft stations/party favor. The chalk board pumpkin is outlined .25 to get the orange outline. I made these large enough that you get 4 per 12x12 sheet. This is the fatter Bosskut pumpkin This was simple the kids applied the chalk board to the orange cardstock and glued on the leaf. Them we gave them a piece of cheap chalk and they drew faces over and over. The chalk is like 75 cents for 12 pieces and this filled out all the extra time because they just kept making more faces.The teacher wanted all the leftovers. To purchase a 12x15 inch heavy wgt chalkboard vinyl : http://www.bosskut.com/ 

    BossKut Frank Peeper Halloween Card

    I love to make cards and I love different shapes!  I took and made a scalloped circle 4-1/4" by 4-1/4" to fit in a card size envelope  cut out 4 to make card and took this too cute card stock from the "craft supplies" in the Bosskut Store!

     
    This designer card stock (by Bo Bunny called Whoo-Ligans) has owls, spiders, robots and monsters on it,  what I love is the little monsters!  I hope some of you remember the song "One-Eyed Purple people eater"!  Well, everytime I look at this Designer card stock that song goes thru my head and takes me back to when I was about 7 or 8 yrs old.  I also used used another piece of Designer Card Stock in this "Whoo-Ligans" Series by Bo Bunny that has these crazy spirals all over it in all the Halloween colors and all of these Papers by Bo Bunny all co-ordinate wonderfully!  I also used some orange card stock for a belly band and inside the card then cut out the "Franken Peeper" #0856 on the Bosskut Die Cuts Store.
    Cut out all of this and used a pen in the bladeholder to write my greeting on the belly band.  Isn't the little frankenstein peeking over the top of the belly band adorable!  You can place a gift card on the inside and send it to someone far away!Enjoy...


    Linn - Bosskut Design Team Member


    Sunday, September 11, 2011

    October Calendar Frame by Katie

    Have you ever started a project and half way through it, it started to become something completely different???  That’s what happened when I began this project.  I had a small, 7”x7” frame that I was going to alter and make for Halloween.  And, as I got further and further along, it transformed into this October Calendar…
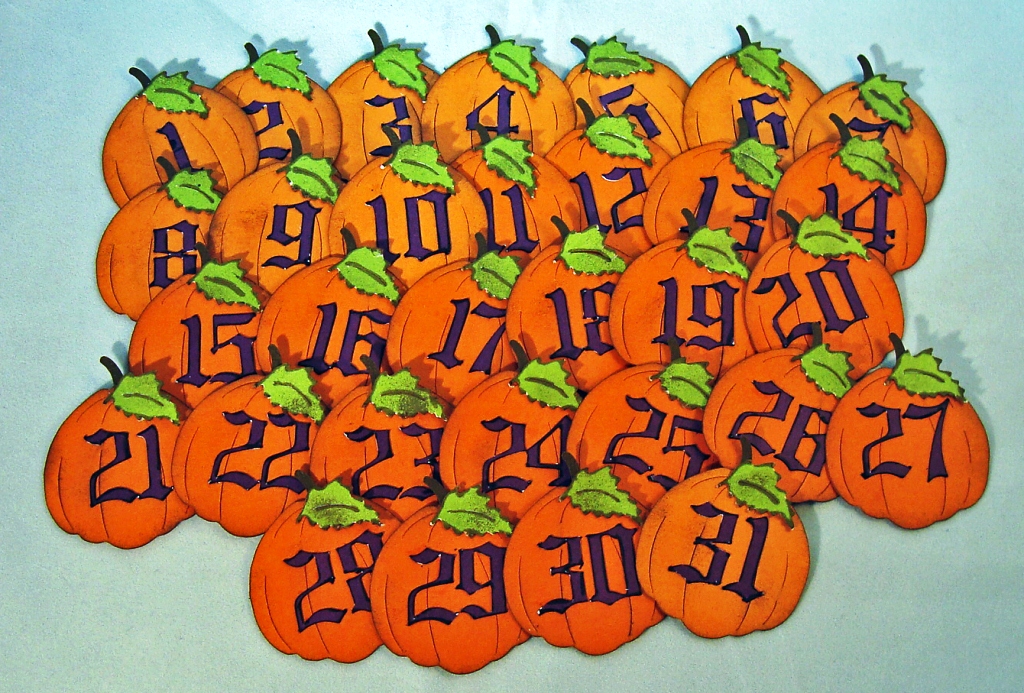
    I began by trimming my purple Blue Bunny Dot to Dot patterned paper to 6.75”x6.75” then distressed and inked the outer edge.  After adhering  it to the frame I used my exacto knife and cut out the center then filed it with a fingernail file and inked it as well.  Next, I cut the *new* Spider Web from Silver Glitter Paper and adhered it directly to the glass that came in the frame.  The spider needed a little something so I gave him googlie eyes then used pop dots to stick him to the web.  I cut and assembled #0858 With Picture Hugger and added her along the top of the open edge of the window.  She fits there perfectly, don’t you think??  To give her a little zing, I used Silver Glitter Paper for her hair.  And, since no witch could live without her broom or cauldron I cut #0846 Broom and #0490 Cauldron and inked, assembled and adhered them.  For the bubbles of the cauldron, I used Kiwi Green Glitter Paper.  To create the calendar, I cut 31 pumpkins using the #0848 Pumpkin and inked ‘em up before adding the numbers.  The font used for the numbers was Old English and can be found in the Funtime software.  Since the numbers were kind of small, I used my 100 Black Copic marker to run around the edges…easier than inking when you’re dealing with smaller die cuts.  I used the same technique on the leaves using my E57 Light Walnut Copic.  Each pumpkin is backed with a small magnet so it can easily be changed daily.  Here’s a view of all my finished pumpkins…
    The best thing about this, other than it’s super cute ‘n spooky, is that my Kindergartener and First Grader will be able to change the day every day and I can use it as an educational tool with them as well!  
    Katie

    Halloween Projects by Linn Cole


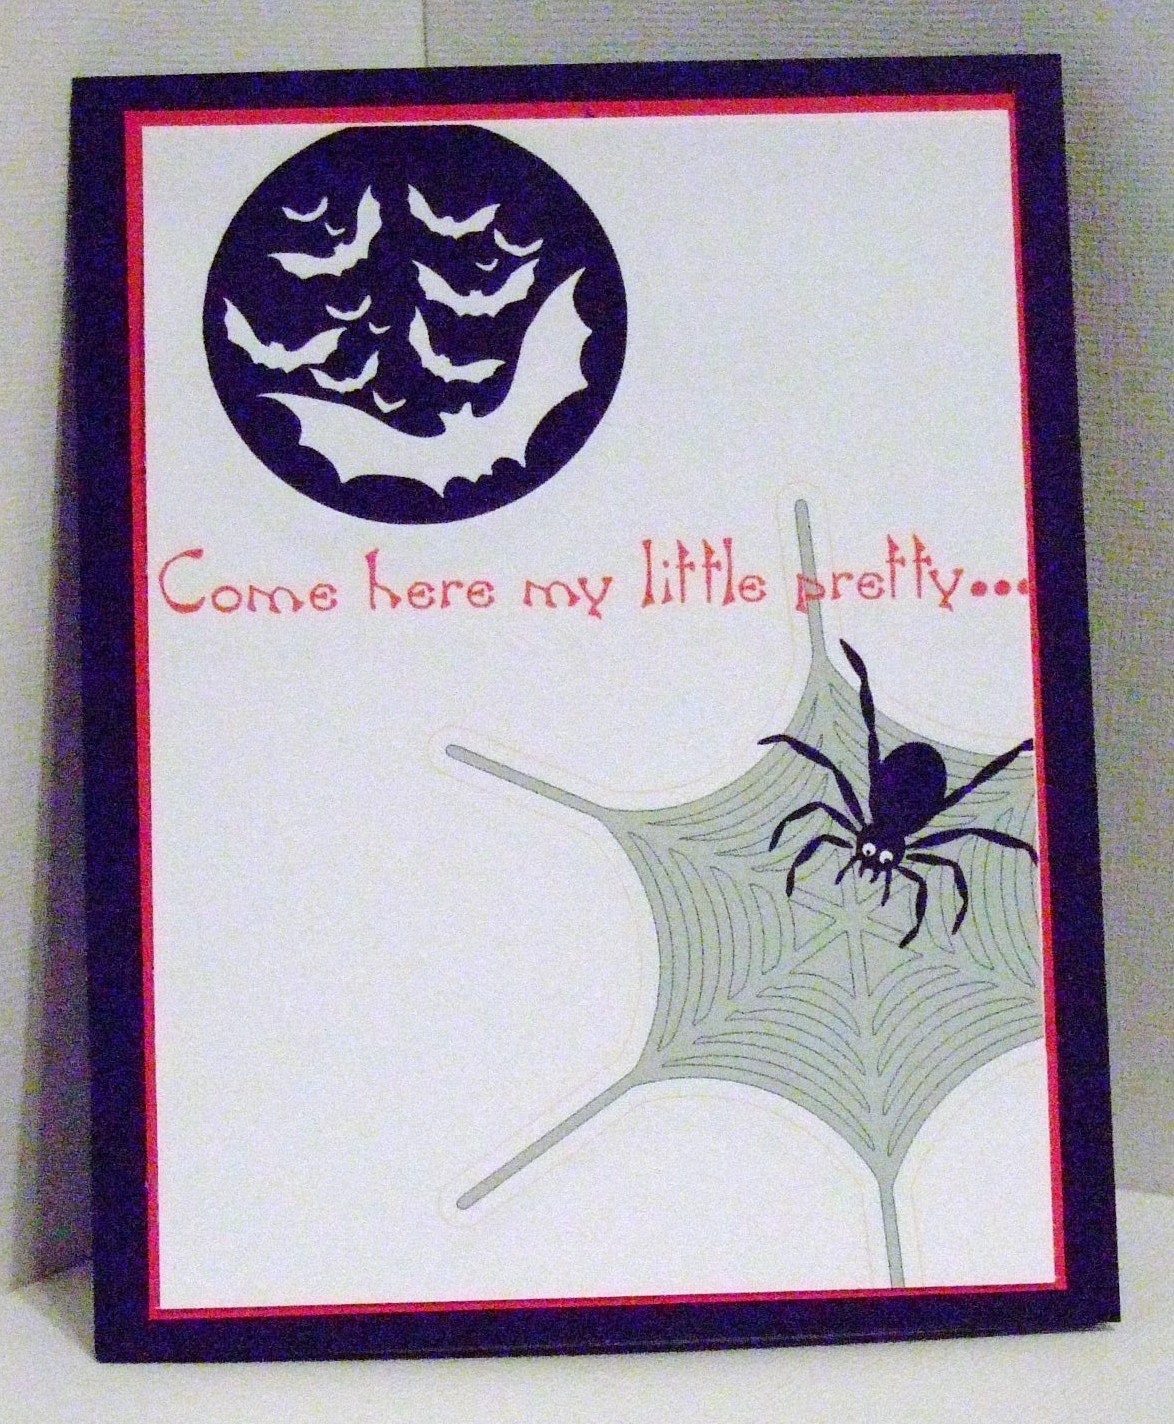
    Today I made some Halloween Projects for the little kids in the neighborhood.  The card is for my little cousin (I give him a gift card!)  I used the moon and bats and the spider from the "Blue Book" inside of Funtime III software, I made the web myself! 
     
     Next is a little basket I made from Card Stock (4-1/4" x 4-1/4") scored in 3 sections both ways and cut top and bottom pieces at the 1st score line using Funtime III. Pull sides up and secure with mini brads or even double sided tape add ribbon for handle.  I took Bosskut cut out #0498D Ghostpumpkin  on front!  Holds a decent amount of goodies!
      Then I took a little 4" x 6" clear cello bag and put some more goodies into it and made a 'Topper" using the 2-B Frame under 'Frames' in the Blue Book plus the cool "skull & crossbones" from the 'Halloween' Blue Book section, took it apart, used the outline and added spiders crawling over it and blood tears!  BOO!
    Cut out the "frame" (make sure to put a score line in the middle going longways) and the "skull & crossbones" add to frame piece and use double sided tape on both sides to hold to cello bag closed.  Until next time.
    Linn Cole
    Bosskut Design Team