
Print-n-Cut with Multiple Images by Judy Stark
If you already purchased a Bosskut Gazelle, then you have the Funtime software which was free with your purchase and over 700 free files. The Gazelles now have the 3 pt registration and print and cuts are right on!
Did you know you can use your cutting files and make your own Print n Cuts?
If not, read further! The above screen are a couple cutting files I am going to convert to PrintnCuts. I first use the color bar and fill in the files with the colors I want to use. Below is a photo of the cutting files in wire mode.

I now need to convert these files to jpgs for my printing. Just a click on the button in my Funtime.

I decided to combine the pine cone file and the ribbon to make one file of these together. You do this step before converting to image. Be sure you have your files ungrouped. Select the file. You will see the little arrows.

Go to the top of your bar and to the IMAGE button and click convert to image. A new window will open.

Change the resolution to 300. Then click OK and window will close.

My Jpg file is now on my work area. (Look to the far upper right) I can now move the cutting file off of my work area. Repeat on each one separately. Doesn't take but under a minute to do all of them.

I am now ready to add the cutting paths to my jpgs. You will do one at a time. I always change the cutline color in case I only want to cut a few out of the group next time.

Look on the left side of your screen near the botttom for the WAND icon . Click this button and the window you need will open. I use the above settings for my wand as it is right by the cutting line.
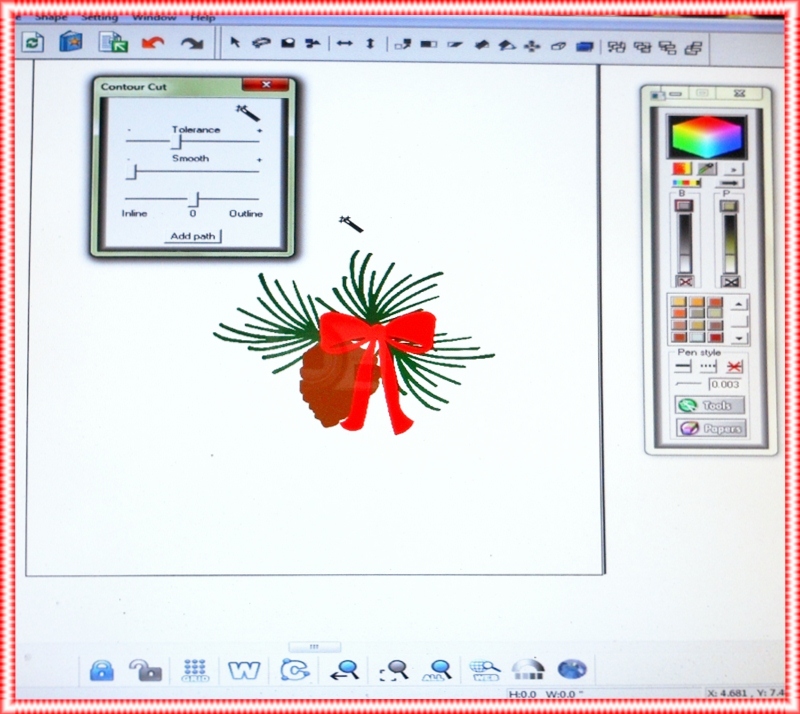
Left click the wand just outside of the jpg but near it. You will see your outside cutting line appear. If you are happy with it, click on the add path that is on the bottom of the open wand window. I usually go to my color bar and RIGHT click my mouse for a different color for my next one.

You are almost done! I usually click the W (for wire) button which is on the bottom of my window. (4th icon ) See how all my print n cut images keep their colors but my original files don't? I now delete the original cutting files on the far left of my work area.

Go to the File window,open and add your crop marks. Be sure you are using the 8.5 by 11 inch paper.

You are now ready to print and then cut!! Be sure you save your file above so you can use it again if you want to. I wrote this tutorial to show you how to make your own Print n Cuts but if you have purchased PrintnCut jpgs, then just import into your Funtime screen and follow the steps for the Wand feature on.
If you need instructions on using the print n cut feature, check our Free Bosskut online Training Tutorial page. Great tutorials and videos by Jules and Terri M. http://training.bosskutforum.com/.
Phyllis has a great tutorial on Adding Patterns to your Designs
Enjoy and have fun making your Print and Cuts! Below is one I made using the Tulip Doily and adding the Ruffles Butterfly.

Judy Tesla Stark - Bosskut Design Team Leader
1 comment:
Wow, this is so cool!
Post a Comment